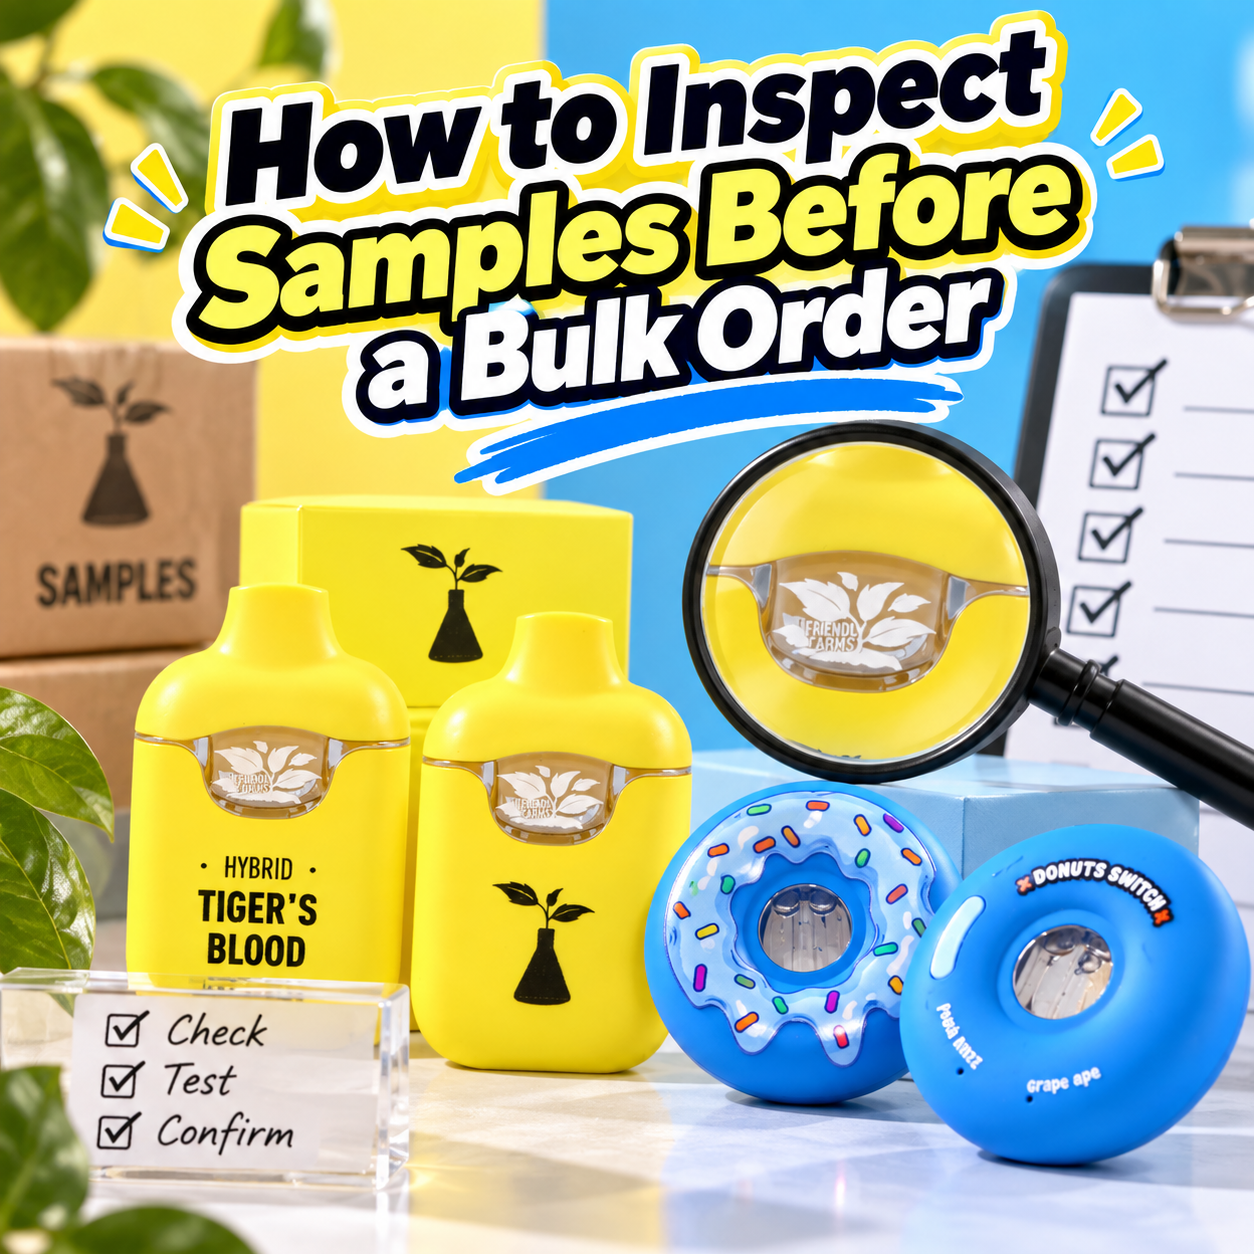
Receiving a sample is not the same as approving a sample.
For wholesale buyers, brand owners and filling companies, a sample should do more than prove that a supplier can send one attractive product.
It should help answer a much more important question:
Can this exact product specification be reproduced consistently during bulk production?
That difference matters.
A small dimensional issue, inconsistent airflow, charging problem or filling incompatibility may be inexpensive to discover while you are testing a few samples.
The same problem becomes much more expensive after 5,000 or 10,000 units have already been manufactured, printed and packed.
A professional sample-inspection process should therefore move through a clear sequence:
Verify → Inspect → Measure → Test → Fill → Observe → Document → Approve → Freeze
This guide explains how B2B buyers can inspect empty vape hardware samples before approving a bulk order and how to turn an approved sample into a measurable production standard.
Why Sample Inspection Matters Before Bulk Production
The purpose of a sample is not simply to decide whether you “like” the product.
Sample evaluation should help you confirm:
the correct product specification;
physical dimensions;
appearance;
assembly consistency;
battery and charging performance;
airflow;
filling compatibility;
sealing performance;
OEM artwork;
packaging;
acceptable quality criteria.
Most importantly, it gives the buyer and supplier an opportunity to discover problems before mass production begins.
Consider a simple example.
If you discover that a filling opening is incompatible with your filling equipment while testing three samples, changing the product or production process may still be relatively easy.
If you discover the same issue after 10,000 units arrive at your warehouse, the options become much more expensive.
Sample inspection is therefore best viewed as:
Low-cost problem discovery before high-cost production begins.
Sample Approval Is Not the Same as Final AQL Inspection
Before discussing the actual inspection steps, it is useful to separate two different stages of quality control.
Sample Approval
Sample approval happens before mass production.
Its purpose is to define the product you want the supplier to reproduce.
You are evaluating questions such as:
Is this the correct design?
Are the dimensions acceptable?
Does it function correctly?
Is the color correct?
Is the filling process compatible?
Is the packaging approved?
Final Lot Inspection
Final inspection happens after mass production.
Its purpose is different:
Does the completed production lot conform to the standard that was previously approved?
This distinction becomes important when buyers discuss AQL.
The current ISO 2859-1:2026, published in January 2026, defines AQL-indexed acceptance-sampling schemes for lot-by-lot inspection by attributes and replaces the previous 1999 edition.
That makes it useful for structured final-lot sampling where appropriate.
It does not mean that inspecting a few development samples before production is the same thing as conducting an AQL inspection on a completed production lot.
A simple way to remember the difference is:
Sample approval creates the standard.
Final inspection checks production against the standard.
Step 1: Confirm You Received the Exact Product You Requested
Before testing anything, verify that the sample matches the quotation, specification sheet or RFQ.
This sounds obvious, but suppliers may have:
several battery options;
different chambers;
multiple PCB versions;
similar-looking capacities;
different mouthpieces;
several charging configurations.
A beautifully tested sample is useless if it is not the model that will actually be produced.
Create a simple specification-verification sheet.
Item
Requested
Sample Received
Status
Model
XXX
XXX
Pass
Capacity
2g
2g
Pass
Chamber
Single
Single
Pass
Battery
[Specification]
[Specification]
Pass
Charging
USB-C
USB-C
Pass
Color
Black
Black
Pass
Screen
Required
Included
Pass
Also confirm whether the sample is:
a standard catalog sample;
a pre-production sample;
an engineering sample;
an OEM sample.
Those are not always the same thing.
Ask the supplier:
“Is this sample built with the same components planned for mass production?”
That question matters.
Step 2: Inspect Multiple Samples, Not Just One
One good sample demonstrates individual quality.
Several consistent samples begin to demonstrate repeatability.
For that reason, buyers should avoid making a large production decision based on only one ideal unit whenever the project justifies broader testing.
Compare several samples for:
appearance;
dimensions;
mouthpiece fit;
airflow;
activation;
charging;
weight;
assembly consistency.
The number of samples should reflect:
product complexity;
customization;
order size;
technical risk;
previous experience with the supplier.
There is no universal pre-production sample quantity that is correct for every vape hardware project.
The key principle is:
Consistency between samples matters almost as much as whether one sample performs well.
If five samples all feel noticeably different, that is information worth investigating before placing a large order.
Step 3: Perform a Detailed Visual Inspection
Begin with what you can see.
Use good lighting and inspect the product from several angles.
Surface Condition
Look for:
scratches;
dents;
coating defects;
uneven color;
contamination;
visible molding marks.
Assembly
Check:
uneven housing gaps;
tilted mouthpieces;
loose components;
misaligned buttons;
screen alignment;
visible deformation.
Chamber
Inspect:
cracks;
internal contamination;
damaged seals;
unusual gaps;
chamber clarity.
Charging Port
Check whether the port is:
centered;
secure;
undamaged;
aligned with the housing opening.
OEM Printing
For customized samples, inspect:
logo size;
position;
orientation;
print sharpness;
spelling;
color.
Do not describe appearance simply as:
“Good.”
Create categories.
For example:
Pass
Minor cosmetic issue
Major defect
Requires clarification
This makes later supplier communication easier.
Step 4: Measure Critical Dimensions
Visual inspection cannot tell you everything.
Two devices may look identical but differ enough dimensionally to create problems in:
automated filling;
packaging;
fixtures;
sealing;
labeling.
Depending on the product, useful measurements may include:
overall height;
width;
thickness;
mouthpiece diameter;
filling-port diameter;
chamber opening;
device weight;
other critical fit dimensions.
A digital caliper and scale can already provide much more useful information than visual comparison alone.
Create a measurement record.
Dimension
Specification
Sample A
Sample B
Sample C
Height
[XX mm]
[ ]
[ ]
[ ]
Width
[XX mm]
[ ]
[ ]
[ ]
Filling opening
[XX mm]
[ ]
[ ]
[ ]
Weight
[XX g]
[ ]
[ ]
[ ]
If the supplier has a dimensional drawing, ask which dimensions are considered critical.
This is particularly important when dimensions influence:
silicone compression;
chamber sealing;
capping;
filling-machine compatibility.
A product that “looks the same” can still behave differently if critical tolerances change.
Step 5: Test the Battery and Electrical Functions
For rechargeable empty vape hardware, electrical testing is essential.
Do not stop at confirming that the device lights up.
Test each function the product claims to provide.
Draw Activation
Check:
whether activation is reliable;
whether there is unusual delay;
whether activation feels consistent between samples.
Charging
Evaluate:
USB-C connection;
charging initiation;
indicator behavior;
connection stability;
unusual heating.
If you have suitable equipment and an approved specification, relevant electrical values can also be recorded.
Screen or LED Functions
If the product includes:
battery indicators;
chamber indicators;
screens;
switching modes;
test each one.
For dual-chamber hardware, verify both chamber controls rather than assuming one functioning channel proves the entire system works.
A good inspection record should say:
which function was tested and what result was observed.
Step 6: Compare Airflow Between Samples
Airflow is easy to overlook because it is difficult to judge from a catalog.
But inconsistent airflow can affect:
draw feel;
sensor activation;
heating behavior;
overall product consistency.
Compare several samples for:
excessive restriction;
unusually loose airflow;
blocked paths;
abnormal noise;
inconsistent activation.
If you do not have airflow-measurement equipment, you can still document comparative observations.
For example:
Sample
Airflow
Activation
A
Normal
Normal
B
Normal
Normal
C
Slightly restricted
Normal
D
Normal
Delayed
The purpose is not to make subjective testing look scientific.
It is to create a repeatable comparison process.
If airflow is a critical project requirement, define a more formal measurement method with the supplier.
Step 7: Test the Intended Filling Process
This is one of the most important steps for empty vape hardware.
An empty device may look perfect and function electrically.
That does not prove it will work with your filling operation.
Before approving bulk production, evaluate factors such as:
filling needle;
filling position;
filling speed;
target filling amount;
capping method;
fill-to-cap timing.
Ask the supplier:
“Do you have a recommended filling and capping SOP for this exact model?”
If they do, compare it against your actual production process.
Important questions include:
Can your filling needle enter the opening correctly?
Does your filling equipment hold the device securely?
Can operators fill the chamber without entering the airflow path?
Does the capping method require special force or tooling?
Can the process be repeated consistently?
This is where many problems appear that were invisible during simple product inspection.
Step 8: Verify Formulation Compatibility
Do not assume one hardware platform behaves identically with every formulation.
Where legally appropriate and relevant to the intended application, the sample should ideally be evaluated using:
the intended formulation;
or a representative test material that meaningfully reflects production conditions.
Variables can include:
viscosity;
filling behavior;
wicking;
temperature;
storage;
interaction with seals.
The important principle is:
Hardware approval should reflect the system the buyer actually plans to produce.
If the formulation changes significantly after sample approval, compatibility may need to be reassessed.
That is particularly important when the new formulation behaves differently in terms of:
viscosity;
filling;
storage;
material compatibility.
Step 9: Perform Leakage and Storage Testing
Leakage should be evaluated using defined conditions.
Avoid records such as:
“No leak.”
Instead, document:
sample quantity;
filling amount;
test material;
storage orientation;
temperature;
test duration;
results.
Depending on your actual test plan, samples may be stored:
upright;
horizontally;
in another defined orientation.
A useful record looks like this:
Sample
Position
Duration
Result
A
Upright
[Actual time]
Pass
B
Horizontal
[Actual time]
Pass
C
Horizontal
[Actual time]
Leakage observed
D
Upright
[Actual time]
Pass
If one unit fails, document where the liquid appeared.
Possible locations include:
mouthpiece;
chamber joint;
bottom airflow;
housing seam.
That information is much more useful for root-cause analysis than simply recording “failed.”
Step 10: Observe Samples Over Time
Not every problem appears immediately.
Some issues may develop after:
storage;
charging;
repeated handling;
temperature changes.
Examples can include:
leakage;
battery discharge;
sensor instability;
loosened components.
For this reason, consider separating testing into:
Initial Inspection
Performed when samples arrive.
Follow-Up Inspection
Performed after your defined observation period.
Use the actual period from your internal process.
Do not write that you conduct:
24-hour;
48-hour;
72-hour;
seven-day
testing unless that is genuinely your test procedure.
Real conditions are more useful than impressive numbers.
Step 11: Inspect Packaging Separately
Product approval does not automatically mean packaging approval.
For private-label orders, treat these as two separate inspection tasks.
Check:
box size;
insert fit;
color;
logo;
barcode;
model;
quantity;
text;
warning information where applicable;
accessories.
Packaging problems often become expensive because they are discovered after large quantities have been printed.
Check every word carefully.
A minor spelling mistake on one digital proof may become the same mistake on 10,000 boxes.
Step 12: Verify OEM Artwork
Customized products should be compared with the approved artwork file.
Logo
Confirm:
size;
position;
orientation;
print quality.
Color
Where color accuracy matters, use an agreed reference such as:
Pantone;
approved physical sample;
other defined color standard.
Avoid instructions such as:
“Make it a little more blue.”
Text
Check:
spelling;
model number;
capacity;
brand name;
website;
barcode.
Screen Graphics
For devices with displays, confirm:
icons;
orientation;
switching display;
battery indication.
Do not assume electronic interface graphics are automatically included in a general appearance approval.
Step 13: Create a Written Sample Approval Sheet
The sample should eventually become a documented specification.
Avoid approval messages such as:
“Looks good. Proceed.”
Instead, build a sample approval sheet.
For example:
Item
Approved Requirement
Result
Status
Model
VB-XXX
Match
Pass
Height
[Specification]
[Measured]
Pass
Battery
[Specification]
Confirmed
Pass
Color
Approved reference
Match
Pass
Logo
Artwork V3
Match
Pass
Charging
USB-C
Pass
Pass
Airflow
Approved reference
Match
Pass
Leak test
Defined method
Pass
Pass
Packaging
Artwork V2
Approved
Pass
This document gives both parties a clearer production target.
It also creates a useful reference if a question appears later.
Step 14: Define Critical, Major and Minor Defects
Before production, agree on what different types of defects mean for your project.
Critical Defect
A serious problem that could create an unacceptable safety or compliance risk.
Examples may include relevant serious:
battery faults;
dangerous electrical faults.
Major Defect
A problem that significantly affects function or saleability.
Depending on the agreed product specification, examples could include:
device cannot charge;
device cannot activate;
major leakage;
wrong model;
incorrect critical specification.
Minor Defect
A smaller issue that may not materially affect function.
Examples may include certain minor cosmetic imperfections, depending on the agreed standard.
Do not treat those examples as a universal industry classification.
Defect definitions should be established for the exact product and buyer requirements.
This becomes especially important later when the production lot is inspected.
Step 15: Create a Golden Sample
Once the sample is fully approved, create a golden sample.
The golden sample is the physical reference representing the approved product.
Questions to Ask Your Supplier Before Approving Samples
Before giving final approval, ask:
Is this sample identical to the intended mass-production version?
Which components could change during bulk production?
What dimensional tolerances apply to critical parts?
What filling amount is recommended?
Is there a recommended filling and capping SOP?
What materials or formulation characteristics has this hardware been evaluated with?
Which QC checks will be repeated during mass production?
What final production-lot sampling method will be used?
Can we create matching buyer and supplier golden samples?
Will any material or component change require buyer approval?
The tenth question is especially important.
A sample only has value as a production reference if the product does not quietly change after approval.
Frequently Asked Questions
How many samples should I inspect before a bulk order?
There is no universal number.
The appropriate sample quantity depends on:
product complexity;
customization;
technical risk;
supplier history;
planned order size.
Testing several units generally provides more information about consistency than relying on one ideal sample.
What should I inspect first?
Start by confirming that the sample matches the requested specification.
There is little value in performing detailed functional testing on the wrong model or configuration.
Should empty vape hardware be filled before approval?
Where filling compatibility is relevant and legally appropriate, evaluating the intended production process can reveal problems that empty-device inspection cannot.
That may include:
filling access;
capping;
formulation interaction;
leakage;
storage behavior.
How should I test vape hardware for leakage?
Use defined conditions.
Record:
sample quantity;
test material;
filling amount;
orientation;
temperature;
duration;
results.
A documented test is more useful than simply recording “no leak.”
What is a golden sample?
A golden sample is a physical product jointly accepted as the reference for mass production.
It should ideally be linked to written specifications, artwork versions and an approval date.
Is sample approval the same as AQL inspection?
No.
Pre-production sample approval defines what the product should be.
AQL-based lot inspection is used to evaluate a production lot through statistical sampling.
ISO 2859-1:2026 is the current international standard for AQL-indexed lot-by-lot acceptance sampling by attributes.
Should packaging be approved separately?
Yes.
The device and packaging can fail independently.
Approve both before mass production.
What should I do if one sample fails?
Document the problem first.
Then determine whether the issue is isolated or repeated, discuss root cause with the supplier and test revised samples before approving production.
Can I go directly from samples to a large bulk order?
You can, but that is a commercial risk decision.
For new, complex or highly customized hardware, a pilot production order can provide another validation stage before full-scale production.
Final Thoughts
A sample is valuable only when it becomes a measurable production standard.
Simply saying:
“The sample looks good.”
does not define what the supplier must reproduce.
A stronger approval process is:
Inspect
↓
Measure
↓
Test
↓
Document
↓
Approve
↓
Create Golden Sample
↓
Freeze Specification
↓
Begin Production
For B2B buyers, the goal of sample inspection is not perfection.
It is clarity.
Both buyer and supplier should understand:
exactly what product was approved;
which characteristics matter;
how those characteristics were tested;
what must remain unchanged;
what will be checked again during bulk production.
When those points are documented before production begins, sample approval becomes more than a purchasing formality.
It becomes one of the most effective tools for reducing quality risk in a bulk vape hardware order.
Quality Note: Sampling plans, tolerances, defect classifications and test methods should be defined according to the exact product, application and buyer requirements. This article provides general B2B quality-control guidance and does not establish a universal inspection standard for vape hardware.
Hello, please contact us if you have any questions! Whatsapp : +1-713-363-1015 Telegram : @Amy99812 Email : chengstella120@gmail.com iMessage: +1-713-363-1015
We have received your message and we will contact you as soon as possible!