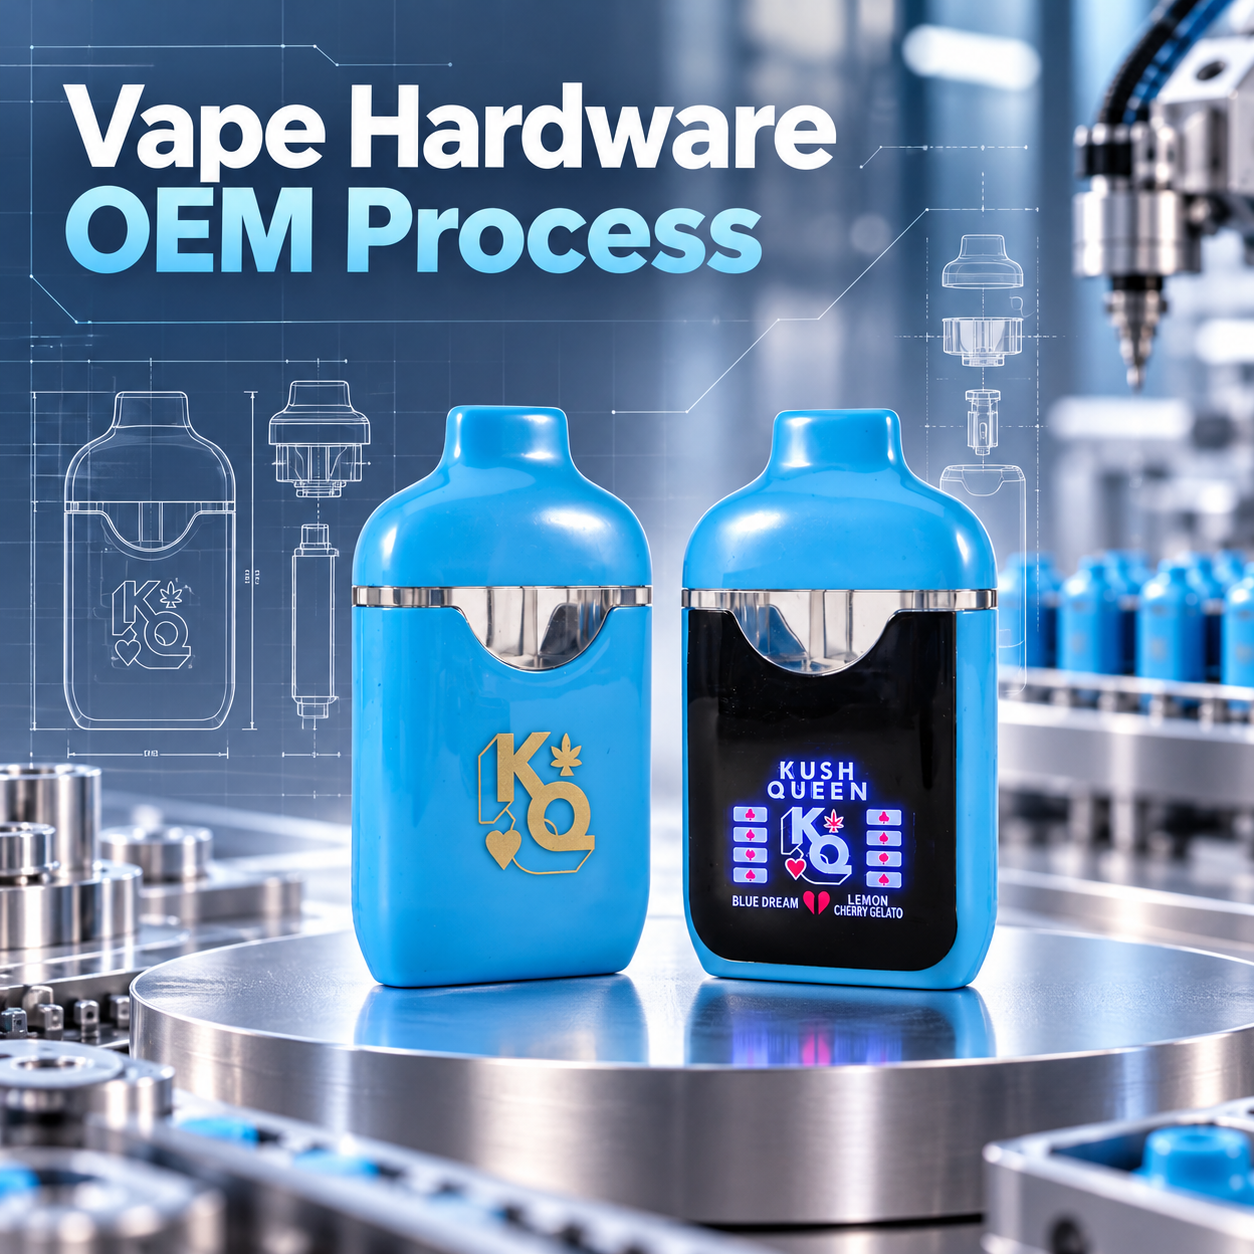
Developing custom vape hardware involves much more than adding a logo or changing the color of an existing device.
A true OEM project may require product specifications, engineering evaluation, prototype development, testing, tooling, sample approval, pilot production and final quality control before mass production can begin.
For wholesalers, distributors and brands, understanding this process is important because many of the most expensive problems in an OEM project begin long before the production line starts.
A chamber design that cannot seal consistently, a battery that does not fit the available internal space, an airflow path that requires redesign, or a component changed after sample approval can all lead to additional development time and cost.
Buyers who are still deciding whether they need a buyer-controlled custom product or an existing supplier platform should first review our OEM vs ODM vape hardware guide.
For buyers who already know that deeper customization is required, the next question is:
How does the OEM process actually work?
Below is a practical step-by-step framework from the first product requirement to final mass production.
Step 1: Define the Vape Hardware Requirements
A successful OEM project should start with a clear product requirement.
A reference image can help communicate the desired appearance, but it is not enough to define a production-ready product.
Before engineering begins, buyers should consider specifications such as:
- target tank capacity;
- single-, dual- or multi-chamber structure;
- battery capacity;
- activation method;
- coil or heating configuration;
- resistance;
- output voltage;
- airflow requirements;
- oil inlet design;
- filling method;
- charging port;
- housing dimensions;
- mouthpiece design;
- materials;
- surface finish;
- logo and branding;
- packaging;
- target order quantity;
- intended market.
The more clearly these requirements are defined at the beginning, the easier it becomes to evaluate technical feasibility, development cost and production risk.
Capacity alone is not enough to define a device.
For example, two products can both use a 2ml dual-chamber format while having very different electrical and structural configurations.
The cali clear 2g dual chamber all in one, for example, uses a 1ml + 1ml chamber structure, button activation, a 300mAh rechargeable battery, 1.6Ω resistance and 3.6V constant output.
That illustrates why an OEM specification should describe the hardware as a system rather than simply saying:
“We need a 2ml dual-chamber device.”
Step 2: Engineering Feasibility Evaluation
Once the initial requirements are available, the next stage is to determine whether the product can actually be manufactured.
A design may look simple externally while creating several engineering challenges internally.
The manufacturer may need to evaluate:
- available internal space;
- battery dimensions;
- PCB position;
- chamber geometry;
- airflow path;
- heating structure;
- oil inlet position;
- filling access;
- sealing points;
- charging-port location;
- assembly sequence;
- wall thickness;
- component tolerances;
- mold feasibility.
This is where the buyer’s idea starts becoming an engineering project.
Appearance Feasibility Is Not the Same as Production Feasibility
A rendering can show what a device should look like.
It does not automatically prove that the proposed battery, tank, airflow system, PCB and sealing structure can all fit inside that housing and still be assembled efficiently.
For example, detailed hardware configurations may include specifications such as resistance, output voltage and oil inlet dimensions.
The usa whole melts x candy shop 2g disposable uses a 1ml + 1ml structure, 450mAh battery, 1.4Ω resistance, 3.4V output and four 1.8mm oil intake holes—showing how much more detailed a real hardware specification can be than capacity alone.
For OEM development, these parameters should be treated as interconnected rather than selected independently.
Step 3: Develop the First Prototype
Once the design passes an initial feasibility review, the next step is usually prototype development.
The purpose of a prototype is not simply to create something that looks like the final product.
Different prototypes may be used to evaluate different questions.
Appearance Prototype
An appearance prototype may focus on:
- dimensions;
- shape;
- ergonomics;
- mouthpiece;
- exterior finish;
- logo position.
Engineering Prototype
An engineering prototype may focus on:
- internal layout;
- chamber design;
- component fit;
- PCB position;
- assembly.
Functional Prototype
A functional prototype should help evaluate areas such as:
- activation;
- airflow;
- charging;
- filling;
- sealing;
- resistance;
- battery performance.
This distinction matters because buyers should not assume that an early prototype represents the final mass-production specification.
A prototype is part of the development process.
It is not automatically the golden sample.
Step 4: Test the Prototype
The next stage is testing.
The objective is not to prove that one prototype works perfectly.
The objective is to identify potential problems before tooling and mass production are locked.
Depending on the project, prototype evaluation may include:
- appearance inspection;
- dimensional measurement;
- activation testing;
- airflow testing;
- resistance verification;
- charging tests;
- filling compatibility;
- sealing evaluation;
- leakage observation;
- battery checks;
- packaging fit.
Buyers should document what was tested rather than relying on general statements such as:
“Sample looks good.”
A more useful evaluation records:
what was tested + how it was tested + what result was observed.
For a more detailed approach to sample evaluation, see our vape hardware sample inspection guide.
Our existing sample-inspection process emphasizes moving through a defined sequence—verification, inspection, measurement, testing, documentation, approval and specification freeze—rather than approving a sample based on appearance alone.
Step 5: Revise the Product Design
It is normal for the first prototype to reveal areas that need modification.
Possible changes may involve:
- chamber geometry;
- sealing structure;
- oil inlet dimensions;
- airflow;
- battery configuration;
- resistance;
- mouthpiece fit;
- housing thickness;
- PCB location;
- charging-port position;
- assembly tolerances.
The important point is that one change can affect several other parts of the product.
For example, increasing battery size may change:
- internal space;
- device weight;
- PCB positioning;
- charging behavior;
- housing dimensions;
- component layout.
Similarly, changing chamber geometry may affect both filling and sealing.
For this reason, design revisions should be evaluated as engineering changes rather than isolated cosmetic adjustments.
Depending on project complexity, several prototype rounds may be needed before the final specification is approved.
Step 6: Approve and Freeze the Golden Sample
Once the hardware design has been tested and the major issues have been resolved, the buyer and manufacturer should establish an approved production reference.
This is commonly referred to as the golden sample.
The golden sample may define characteristics such as:
- dimensions;
- housing;
- color;
- surface finish;
- component configuration;
- logo position;
- chamber structure;
- airflow;
- activation;
- charging;
- assembly;
- packaging.
A golden sample should ideally work together with a written specification sheet.
The physical sample shows what the product should be.
The specification sheet records measurable requirements.
For OEM projects, this step is especially important because approving a sample is different from assuming mass production will automatically reproduce it.
Our OEM vs ODM Vape Hardware also discusses why golden-sample approval and specification control matter before production begins.
Once the specification is frozen, later changes should be documented and approved rather than introduced informally.
Step 7: Tooling and Mold Development
If the custom product requires new structural components, dedicated tooling may be necessary.
Depending on the device, tooling can include:
- housing molds;
- mouthpiece molds;
- tank components;
- silicone parts;
- production fixtures;
- assembly jigs.
One of the most important rules is:
Do not commit to final tooling too early.
If major structural changes are made after the tooling has been completed, additional modification or even new tooling may be required.
Before paying tooling fees, buyers should also clarify:
- Who owns the mold?
- Is the mold exclusive to the buyer?
- Where will it be stored?
- Who pays for maintenance?
- Can the manufacturer use it for another customer?
- What happens when the mold reaches the end of its usable life?
These questions should be settled before mass production—not after a commercial disagreement occurs.
Step 8: Pilot Production
Going directly from one approved sample to thousands of units creates unnecessary risk.
For more complex OEM projects, a pilot production run can help verify whether the manufacturing process is stable enough for larger-scale production.
The objective changes at this stage.
A prototype asks:
Can the design work?
Pilot production asks:
Can the factory reproduce the design consistently?
A pilot run may reveal issues involving:
- assembly consistency;
- component variation;
- sealing;
- charging;
- cosmetic defects;
- airflow;
- printing;
- packaging accuracy;
- production efficiency.
This stage is particularly useful because problems that never appear in one carefully assembled engineering sample may become visible when a larger number of devices move through a normal production process.
Step 9: Mass Production and In-Process Quality Control
After the design, tooling and production process have been approved, full mass production can begin.
But quality control should not begin only after every device has been packed.
Depending on the product, inspection may start with incoming components and continue throughout assembly.
Key areas may include:
Incoming Components
Check:
- batteries;
- PCBs;
- chambers;
- heating components;
- silicone seals;
- housings;
- mouthpieces;
- charging ports;
- packaging materials.
Assembly and Appearance
Inspect for:
- gaps;
- deformation;
- scratches;
- incorrect printing;
- loose components;
- inconsistent fit;
- contamination.
Electrical and Functional Checks
Depending on the device:
- activation;
- resistance;
- battery voltage;
- indicators;
- displays;
- charging.
Airflow and Sealing
Check agreed requirements for:
- airflow consistency;
- chamber integrity;
- mouthpiece fit;
- sealing surfaces;
- filling compatibility.
Identifying a production problem early is usually less expensive than discovering it after the full order has already been manufactured.
Step 10: Final Inspection Before Bulk Shipment
The final stage is not simply counting cartons.
A completed production lot should be evaluated against the approved product specification and quality requirements before shipment.
Depending on the project, final inspection may include:
- visual quality;
- dimensions;
- functional testing;
- charging;
- activation;
- airflow;
- sealing;
- printing;
- packaging;
- quantity;
- carton condition.
Our complete guide to how we test empty vape hardware before bulk shipping explains our broader QC framework, including incoming components, dimensional checks, electrical performance, airflow, sealing, charging, final sampling and packaging inspection.
One important distinction should always be remembered:
Sample approval does not equal bulk-production approval.
The sample establishes the target.
Final QC evaluates whether the manufactured lot conforms to that target.
How Long Does the Vape Hardware OEM Process Take?
There is no universal OEM development timeline.
The actual schedule depends on factors such as:
- product complexity;
- number of custom components;
- prototype rounds;
- mold requirements;
- PCB development;
- battery configuration;
- packaging development;
- testing;
- engineering revisions;
- production quantity.
A project based largely on mature existing components may move faster than a completely new structural design.
This is also why buyers should understand the difference between OEM development and adapting an existing ODM platform.
If time to market is the highest priority, deeper OEM development may not always be the best choice.
What Determines Vape Hardware OEM MOQ?
OEM MOQ is another area that should be discussed early.
There may not be one single MOQ for the entire project.
Different minimum quantities may apply to:
- standard components;
- custom housing colors;
- logo printing;
- packaging;
- batteries;
- molded components;
- full structural customization.
A deeper OEM project normally creates more project-specific manufacturing requirements than a stock order.
Buyers can review our Empty Disposable Vape MOQ for a more detailed explanation of how minimum quantities can change between stock, branded and customized orders. https://vapebulkpro.com/
The best question is therefore not simply:
“What is your MOQ?”
A more useful question is:
“What is the MOQ for each level of customization in this project?”
Common Vape Hardware OEM Mistakes to Avoid
1. Starting With Only a Reference Image
A reference image communicates appearance.
It does not define battery, chamber, resistance, airflow, filling or other technical requirements.
2. Opening Tooling Before the Design Is Frozen
Late structural changes can make existing tooling unusable or require additional modification.
3. Approving One Sample Without Documenting It
An approved sample should be supported by measurable specifications wherever possible.
4. Changing Components After Golden-Sample Approval
Changing a battery, seal, PCB or housing material may affect more than one part of the product.
5. Skipping Pilot Production
One successful sample does not prove production consistency.
6. Treating Final QC as a Substitute for Development Testing
Final QC is intended to verify production.
It cannot efficiently correct a poor product design after thousands of units have already been manufactured.
Vape Hardware OEM Process Checklist
Before moving a custom project into mass production, buyers should be able to confirm each of the following stages:
- Define the product requirements
- Complete engineering feasibility evaluation
- Build the initial prototype
- Test the prototype
- Revise the design
- Approve and freeze the golden sample
- Complete required tooling
- Run pilot production where appropriate
- Begin controlled mass production
- Complete final QC before shipment
The process may vary between projects, but skipping key development stages usually increases risk rather than saving time.
From Product Idea to Repeatable Mass Production
The real objective of vape hardware OEM development is not simply to create one attractive sample.
It is to create a specification that can be manufactured repeatedly and consistently at commercial scale.
That requires coordination between product design, engineering, tooling, components, testing, production and quality control.
For buyers preparing a new project, start by defining:
- target capacity;
- chamber configuration;
- battery requirements;
- activation method;
- electrical specifications;
- filling method;
- customization requirements;
- packaging;
- expected order quantity.
Then move through feasibility evaluation, prototype testing and sample approval before committing to large-scale production.
A clearly defined OEM process makes it easier to identify problems while they are still inexpensive to correct—and gives both buyer and manufacturer a stronger reference when production begins.
For wholesalers, distributors and brands evaluating an empty vape hardware project, VapeBulkPro supports product sourcing, sample evaluation, OEM/ODM development and bulk-order quality control from initial requirements through production.